Ok where to start? I guess the beginning.
When I first started my bag company I got a ton of offers from boutiques to carry them in their stores. This sounded like a great idea at first, and I did sign on with two local stores.
I thought that it made sense, a good way to get my product out there. But when you sell to stores, you do it on a wholesale basis (they buy a large number, usually at 50% off so they can turn around and mark it back up to full price).
I quickly realized that it didn’t make any sense for me to go this route. Once I factored in the cost of supplies (fabric, interfacing, zippers, magnetic clasps, webbing, hardware for webbing….) well you get the idea- I barely broke even and that wasn’t even considering my time to make the bags. Which unfortunately take a long time.
So years ago when I was on a trip to Florida with Andy, the hotel we were staying at had a large gift shop with a ton of Vera Bradley bags. I went down there and took a peak at how they were made- because they are obviously mass-produced.
I picked up a bag, looked inside- ah ha. Exposed edges. That’s why they are so easy to mass produce. And let me just tell you that if you ever get the urge to make a bag- do it the Vera way. Go to JoAnn’s and buy some fabric that is already layered and all you have to do is cut the pieces, sew the binding around the edges, and then sew the pieces together. No interfacing, no steam pressing- Viola, you have a bag.
But after checking out the Vera bag I realized that I was never going to mass-produce.
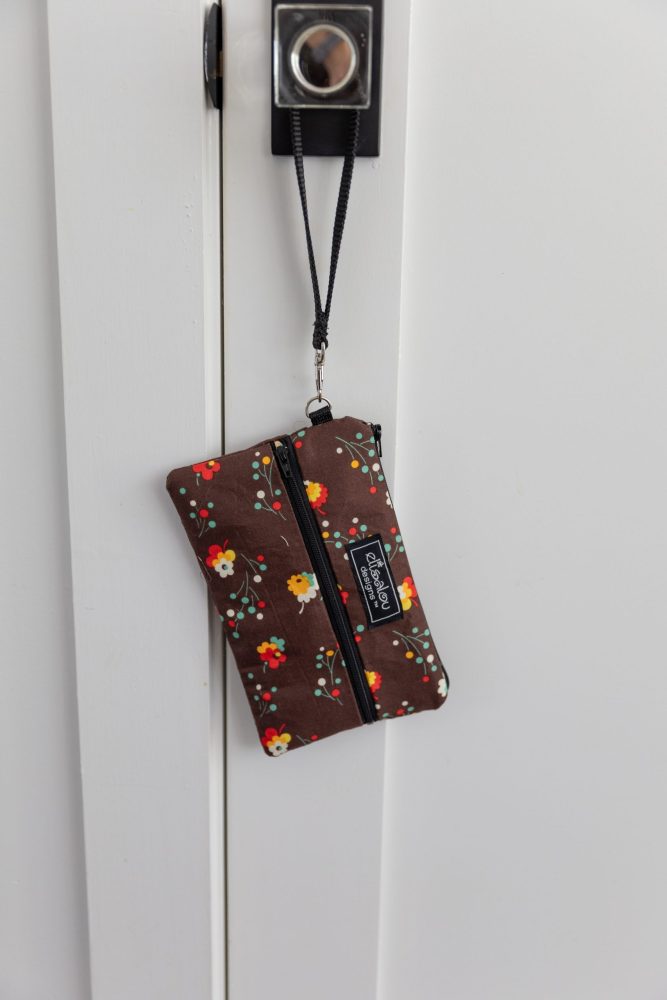
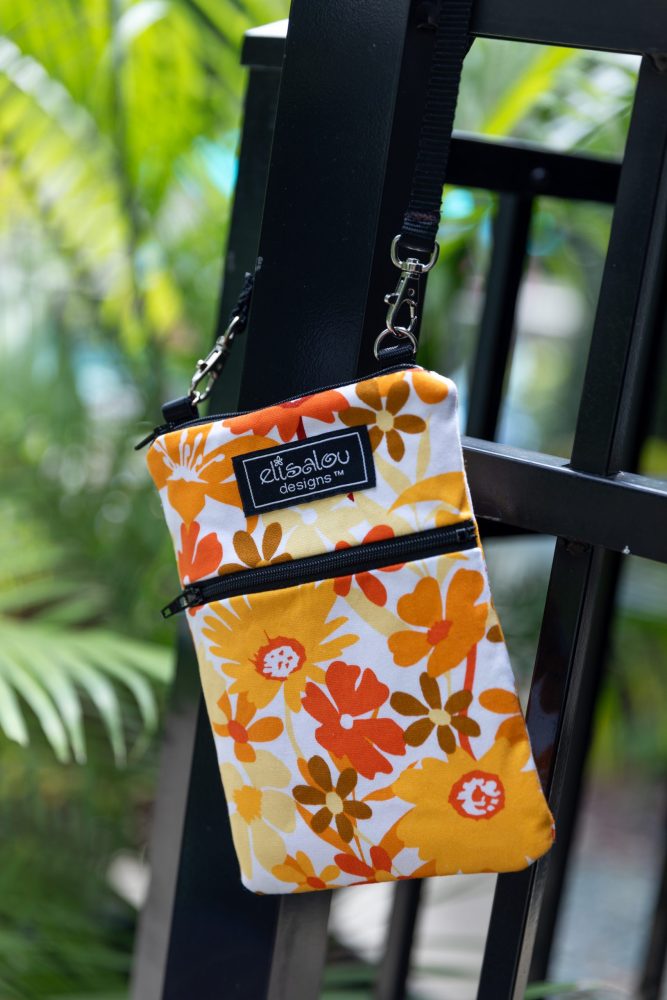
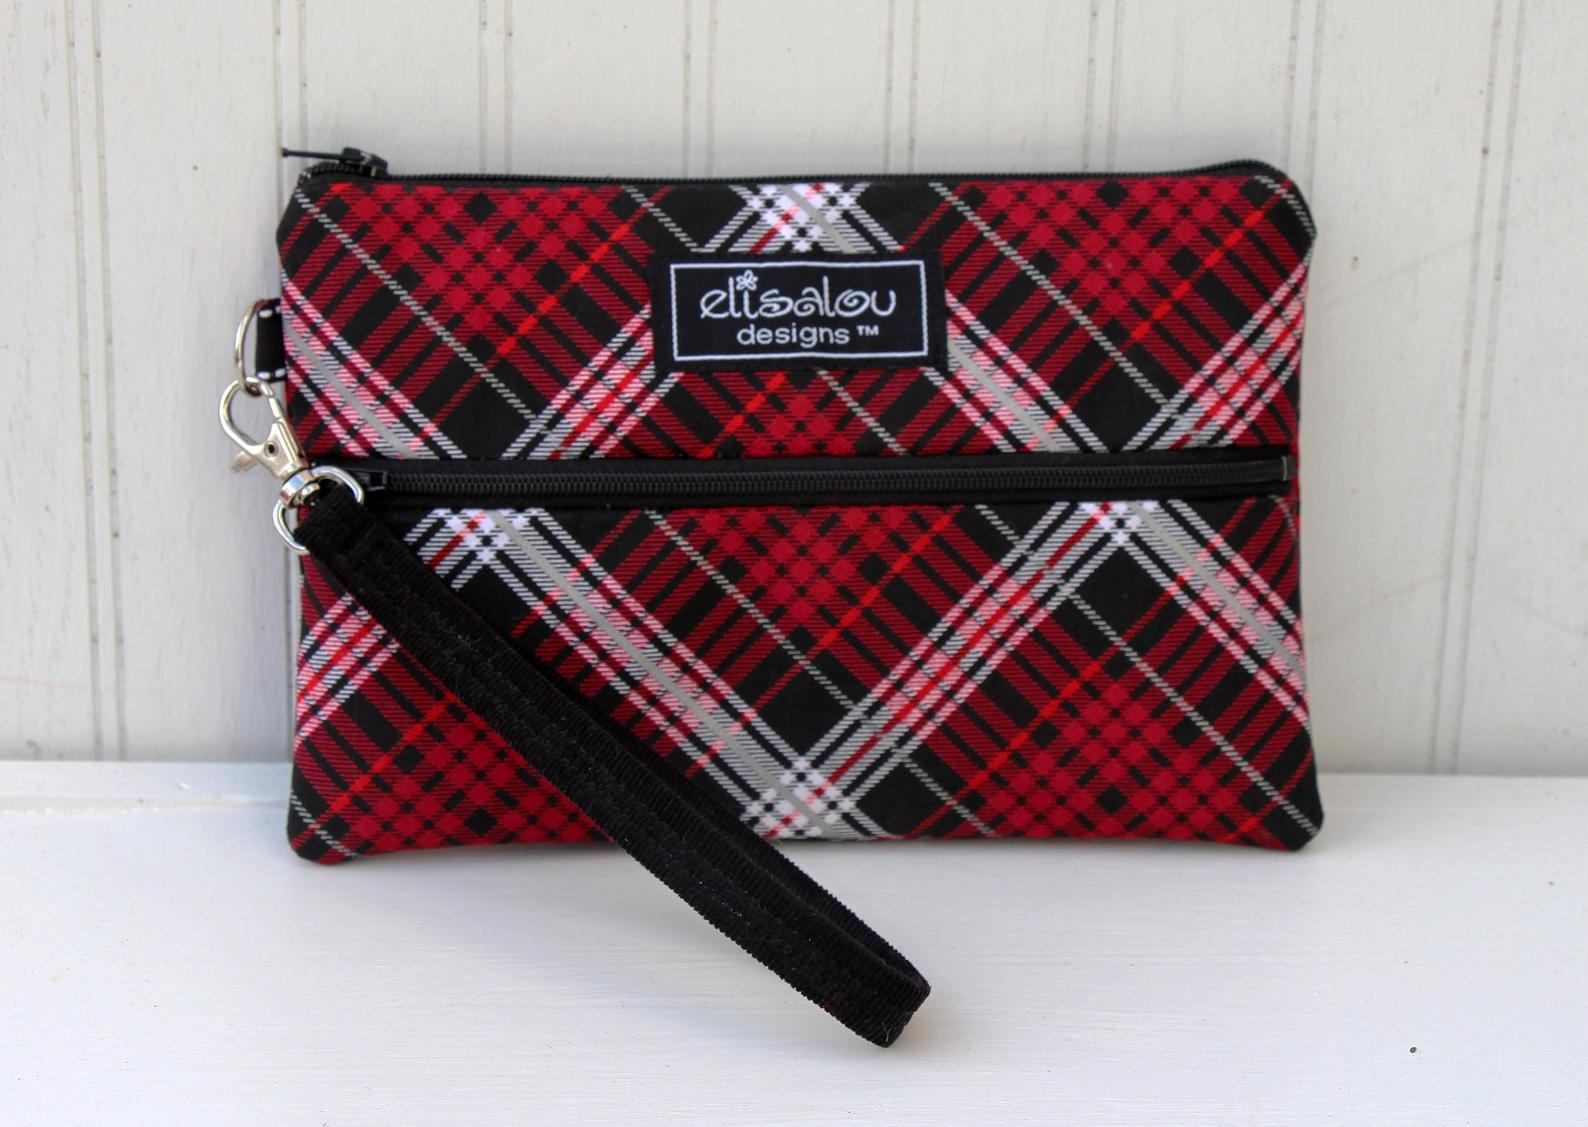
So for fun I thought I would take you through the process of making one of our bags.

First of course you need the fabric- I am in the process of moving my studio- Here are the bolts I have moved-
there are so many more. I have lots of fabric. Lots. Ask my husband.
One of the most genius ideas my husband ever had was to cut all of my bag patterns out of plexi-glass.

Makes life a lot easier. Because we use the pattern to cut the exterior fabric (2 pieces), the interior fabric (2 pieces), and the interfacing (4 pieces for exterior and interior).
I love to cut the fabric, hate to cut the interfacing- especially the thick fleece stuff.
Next is the steam pressing

This adheres the interfacing. This job isn’t bad, unless it is summer. Then it’s hot.

This is the sewing machine used for labels. I get lots of emails from other bag makers asking where I got my labels. I love my labels but man were they expensive. Worth it though, as my husband the biz major says “brand is everything”. A couple years ago I just bit the bullet and bought thousands, so now I have boxes and boxes of labels and I don’t have to worry about it.

When I first started, I used that machine to sew bags. BAD IDEA. I broke the plate on that machine, broke a ton of needles and one ended up in my finger. Like all the way broken in my finger. Like a splinter only down into my finger. I had to pinch down the skin on either side and have Andy pull it out with pliers. Not fun. Chills just thinking about it. Yuck.

Once the label is sewn on then it can be pieced together.

Those that have read my blog for a while know that I sewed through my finger with this machine.
Clumsy girls probably shouldn’t sew with an industrial machine… the neighborhood kids talked about that one forever. That I was in the wrong occupation. I am more careful now.
We have two of each of the big equipment (2 steamers, 2 industrial sewing machines)
Usually the inside is sewn first, the pockets are added and trimmed out, the magnetic snaps or zippers. Our bags are made that in theory they could be reversible, if you didn’t mind your pocket on the outside and your snap as well. 🙂 They are not reversible, but I actually have had people do it. The inside is made exactly like the outside. with sturdy interfacing, and finished edges.

This pin cushion by Betz White just makes me happy. As does my tool box

And that’s it!
When I get the studio put back together I will take pictures.
Newletter going out for out November Promo- make sure you are signed up!
Good lord lady! That is a lot of work. Your bags are worth EVERY penny! 🙂
The fabric filled shelves make me happy…just those alone would fill me with inspiration! Can’t wait to see the finished studio!
I have always wanted you to do this, and thought you wouldn’t want to! I am trying to get started sewing purses and sandwich bags- thanks for the daily inspiration!
love this post!! so good to figure out how it all works.
your bags are way better than vera!
no question!
Love your tools! I could use one of those industrial sewing machines. I’m forever breaking my needles trying to sew too many layers together.
I have 2 of your bags and love them. I guess it always goes back to the old saying “you get what you pay for”.
this was a perfect post for what i’m going through right now as i just started to sew my own bags, hopefully to sell one day. i’m a long way from being YOU but i still look up to you as inspiration so thank you! i loved reading about your process and was DROOLING over your steam press – oops. thanks for the peek inside your creative madness. i too am a self-professed ‘accident’ person. i recently broke FOUR needles in less than an hour – ah, the joy of burlap – ouch! HUGE hugs, rachel
I love your bags. I bought a big one and when I get settled in our new home here in northern Kentucky, I am going to buy me a winter looking bag. Thanks for sharing how you make them. I know that Vera is a very popular bag but I just don’t ‘get’ them. No offensive to anyone that has them:) LOL